Sunday, 29 July 2012

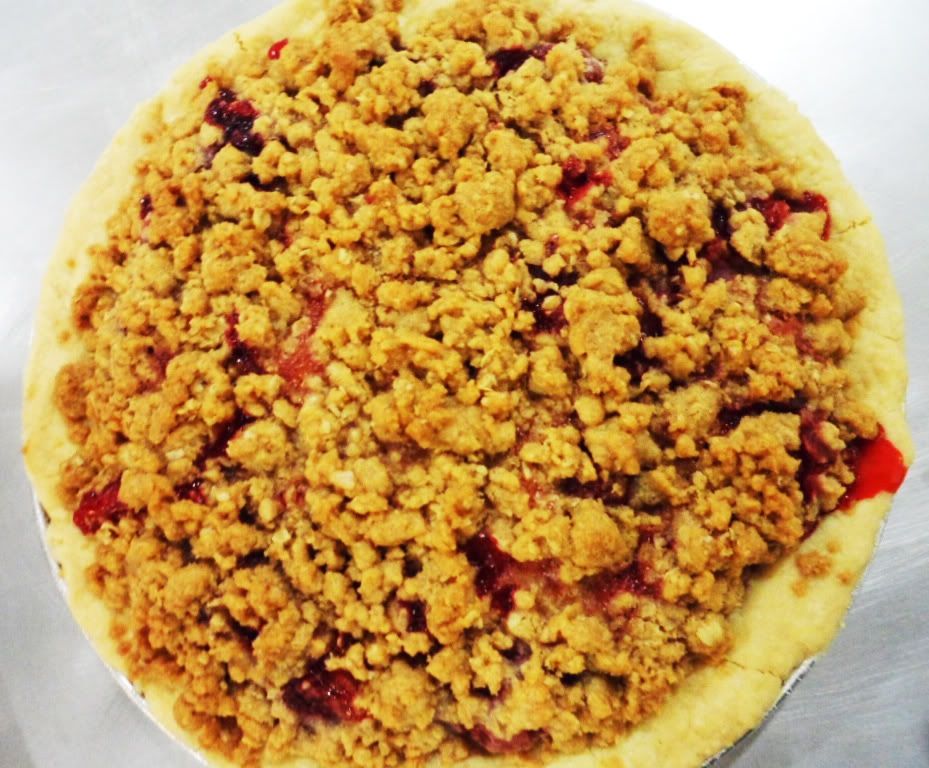
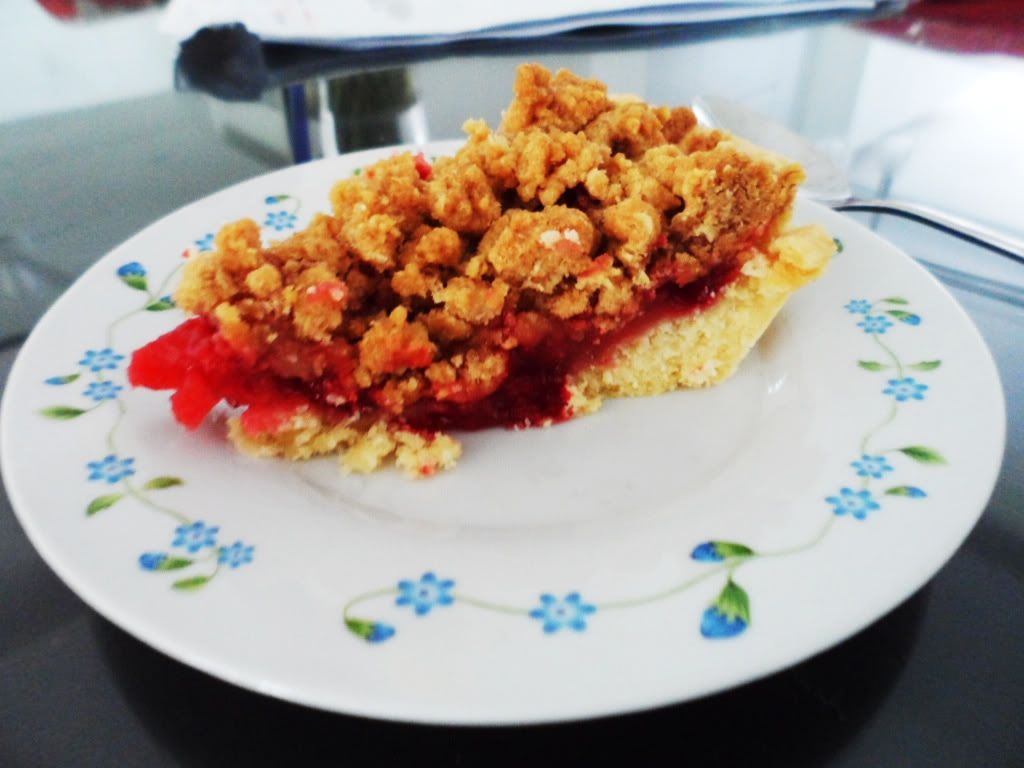
Strawberry Vanilla Crumble Pie


Remember the strawberry madness week? Well this was another dish that I made during that week. It was ........ *dreaming face*.

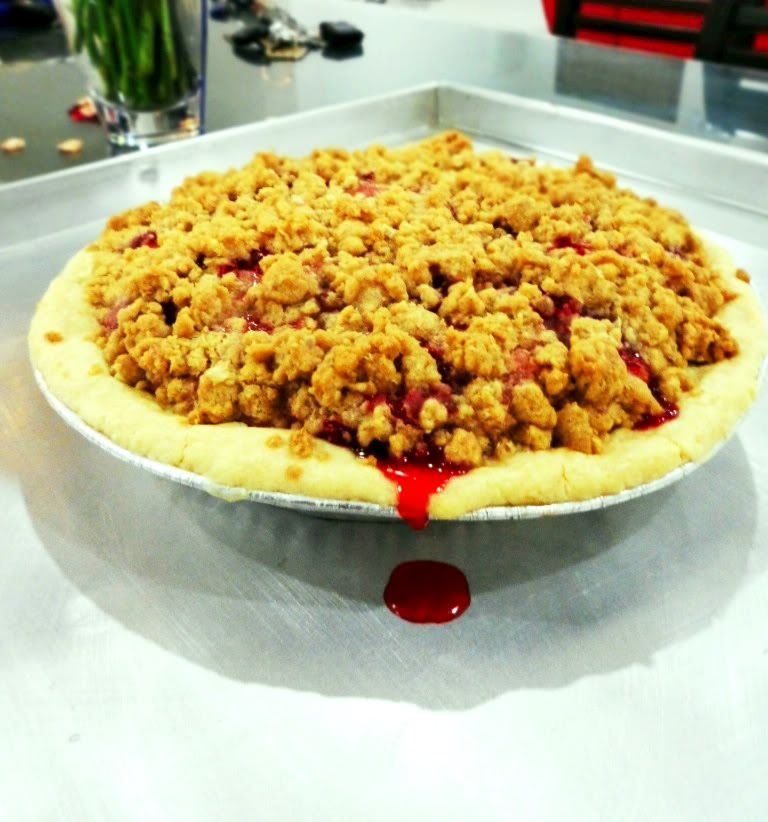
Just look at that bubbly strawberry juice dripping out of the pan! And the smell of the kitchen when you open the oven to check on it, make you wanna eat it as soon as it comes out!

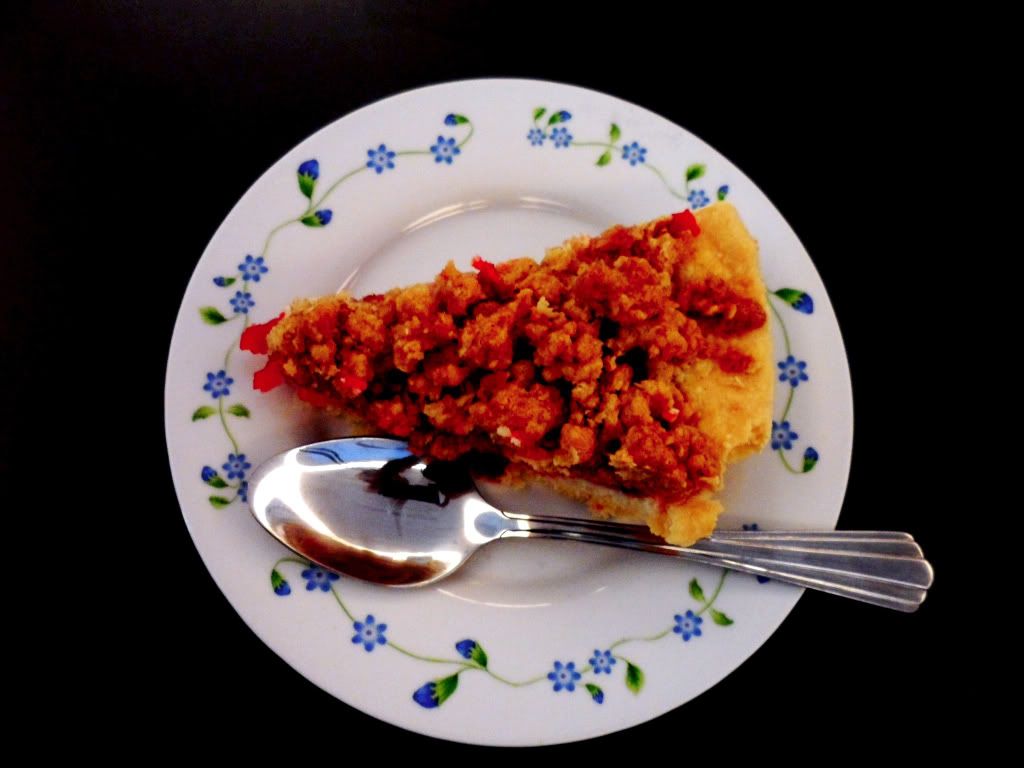
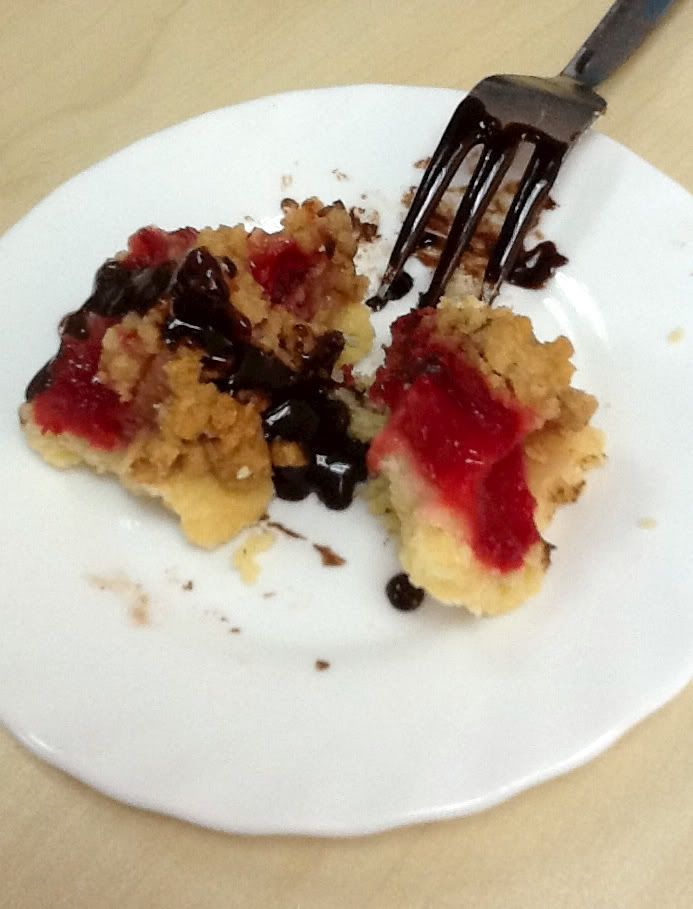
Drizzled a slice with some choc ganache. oimicorasonnn. *drool*

Another recipe from Whisk Kid, she just makes me salivate everytime I look at her post, and run to the store and get all the ingredients. Another easy one, have fun trying!

Pie Crust
6 Tablespoon (85g) butter
2 Tablespoon (30g) shortening
1 cup (142g) flour
1/2 teaspoon salt
4 Tablespoon cold water, more if needed
  1. Cube the butter and place it and the shortening in the freezer for fifteen minutes.
  2. In a medium bowl, combine the flour and salt. Add the frozen butter and shortening, and press with your fingers (or a pastry blender or a fork or a pair of knives. Its easier with forks!) until it is the texture of coarse meal. Add the water a little at a time and mix/knead just until incorporated.
  3. Wrap in plastic wrap and refrigerate (not freezer okay) at least 30 minutes. (Tip: You can start on your crumble while waiting for this).
  4. After 30 minutes, place the dough on the counter to soften for 5 minutes. On a well-floured surface, roll the dough until it is large enough to fit in a 9" pie tin - about 11-12" in diameter. As you roll, check often to see that the dough is not sticking to the counter and apply more flour as needed.
  5. Roll the dough around your rolling pin and lay it in the pie tin. Form a decorative boarder, if you wish. Place in freezer.
Crumble (which was adapted from Nicole at Sweet Peony)
1/2 cup (100g) brown sugar, packed
1/2 cup (71g)  flour
3/4 teaspoon cinnamon
4 Tablespoon (60g) butter, frozen and cubed
1/4 cup (25g) oats
  1. Combine all ingredients in a medium bowl and press until the texture of coarse crumbs. Place in freezer briefly while you prepare the pie filling.
Strawberry Vanilla Pie Filling
3/8 cup (74g) sugar
Scrapings of one vanilla bean/ 1 teaspoon vanilla extract
1/4 cup (35g) flour
2 Tablespoon cornstarch
1/2 teaspoon salt
500 grams strawberries (or around that..I used like 450, the other 50 grams went to my tummy..)
  1. Preheat the oven to 175degrees Celsius.
  2. Combine the sugar and vanilla in a bowl. (if using vanilla bean - press with fingers to incorporate)
  3. Stir in the flour, cornstarch and salt.
  4. When well-mixed, add the berries and toss to coat. Pour into frozen crust.
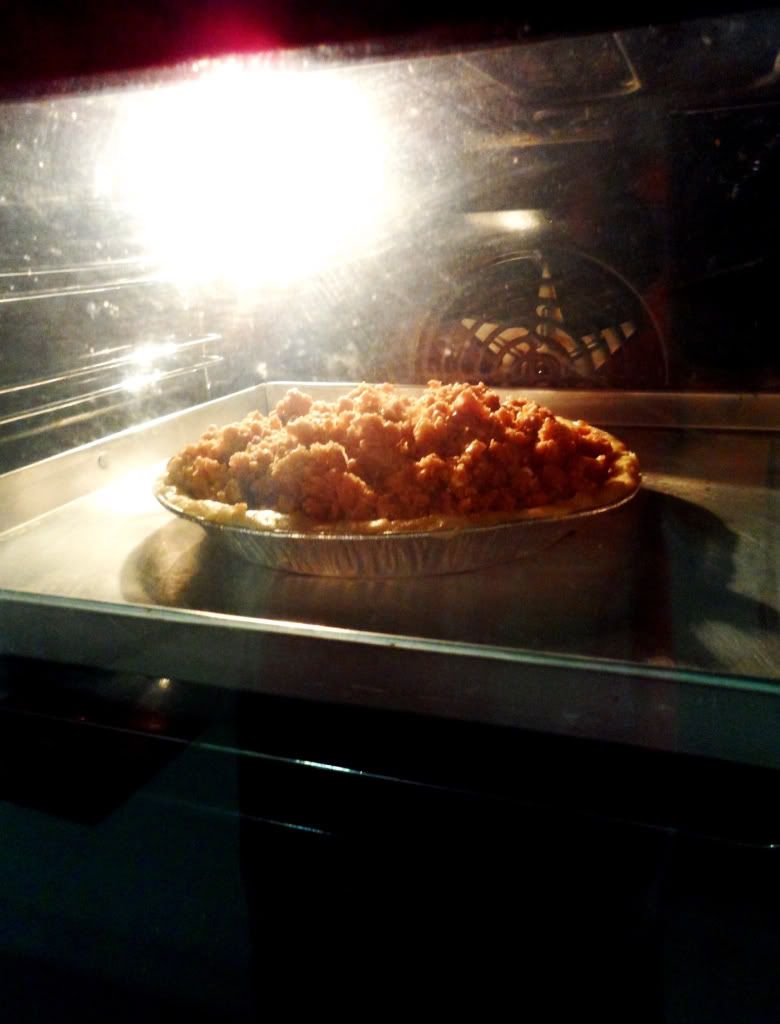
  5. Top with crumble. Bake until you see juices bubbling through the crumble in the center, about 1 hour and 15 minutes.

Don't you just wanna eat that???DON'T YOU?

Sunday, 15 July 2012

Tiramisu


My friends, they are like, my tester mouse. You know the ones that are used in the lab? But so far, they get to test eat yummy cakes. Not fair also. One day I should do a really bad one, like putting salt instead of sugar and get my camera ready!


I've never liked tiramisu before, because I dont really like coffee, until I know Starbucks and Coffee Bean (the fancy expensive stuff hehe), then it all begun. But weird, I would never buy myself a slice of tiramisu, maybe because of the bad 1st time experience.


Oh well, its another birthday celebration for 2 of the boys (gosh, i just realize that i actually have a lot of people's birthday I can experiments on..weee!), and one of them happened to mentioned his love for tiramisu, and the search for the perfect recipe begins.

Birthday boys with their cake.
My test mousies. See told ya. Happy faces eating cake. But I shayang these dweebs to the bits!

And it is not that hard to make too! Like stir stir stir, layer layer, dip dip, done! The recipe that I tried had the yolks to be cooked and chilled, but most other recipe doesnt require for it to be cooked. Its a matter of preference in the end. I've yet to try a cake version of tiramisu, this is the triffle version, the one that used lady fingers biscuits. And it is yummehhh! I had a lick of some spills, and I just had to swipe my fingers to the remaining leftovers from the bowl, this one is shoooo guuuud.
See, you only need these. I got my whipped cream zapping up in the mixer there.

This recipe is from Allrecipe, with slight adaptation (I excluded the Rum heehee) but I halved it as my bowl was only 8inch x 8inch.Ifyou have a big/deep bowl, by all means use the full measurement ya!

6 egg yolks
3/4 cup white sugar
2/3 cup milk
1 1/4 cups heavy cream
1/2 teaspoon vanilla extract
1 pound (about 500 grams) mascarpone cheese
1/4 cup strong brewed coffee, room temperature
2 packages ladyfinger cookies
1 tablespoon unsweetened cocoa powder

  1. In a medium saucepan, whisk together egg yolks and sugar until well blended. Whisk in milk and cook over medium heat, stirring constantly, until mixture boils. Boil gently for 1 minute, remove from heat and allow to cool slightly. Cover tightly and chill in refrigerator 1 hour.
  2. In a medium bowl, beat cream with vanilla until stiff peaks form.
  3. In a seperate bowl, whisk mascarpone into yolk mixture until smooth.
  4. Pour the coffee into a small bowl. Dip ladyfingers in the coffee and arrange in a bottom of a 7x11inch dish
  5. Spread half of mascarpone mixture over ladyfingers, then half of whipped cream over that. Repeat layers and sprinkle with cocoa. Cover and refrigerate 4 to 6 hours, until set. Its best to refrigerate it overnight. You can also shave some semi sweet chocolate and sprinkle sprinkle!
Good luck!

Thursday, 12 July 2012

Apple Raspberry Jam Tart


Something that you can do when you are bored, and so happened that there's an apple left and you dont feel like eating it. Lol. What am I talking about, bored and go bake ha? Like it's that easy.

But it is! It is not that hard prepare this whole thing. And I tell you, it's so nice, to eat it hot or cold, during a rainy day, with a cup of strawberry (or just the usual lipton) tea on the side. I saw this on Whisk Kid, and, as usual, straight away went and get my self a Granny Smith Apple (if you cant find one, just get the usual green apple is enough) and yeah, i bought just ONE apple. You dont want it to go to waste if you buy extra for your what-if mind, for e.g. "what if one is not enough?" or "I'll just eat it if there's balance". Just try not to waste unless you are sure that you are going to eat it.

This was my first tart/pie base attempt, I've never made big tarts other than the traditional Eid/Raya Tart Nenas. I find it a bit hard to roll the crust and transferring it to the pan, maybe because I dont have a proper rolling board that's why it sticks and breaks, but..nonetheless, as long as its good to eat, who cares how it looks lika right? This is the only hard part making this precious ohsoyummmm tart. Other than that, close one eye u can do wannnn.

Whisk-Kid had it with strawberry preserve, but i had my raspberry preserve (raspeberry jam that you spread on your bread tu), so I used that instead.

Pie Crust
8 tablespoons (118 grams) butter, cut into cubes and chilled (after cutting it, just put it inside the freezer for a while)
1 cup flour
1/2 teaspoon salt
4 tablespoon water, cold

Filling
1 apple
Lemon juice
Cinnamon
Raspberry preserves
Cream
Sugar
  1. Combine the flour and salt in a medium-sized bowl. Add the butter, then cut in using two forks, a pastry blender, or your hands. Continue working in the butter until the mixture resembles coarse meal (Just press the butter and mix it with the floor mixture).
  2. Add just enough cold water to bring the dough together and knead a few times to ensure that the flour is evenly moistened. Press into a 1" thick disk and wrap in plastic wrap. Refrigerate at least 30 minutes or up to two days.
  3. While waiting for the dough to chill, cut the apple in half and remove the core. Slice thinly and keep the pieces together so that when you are done you can just press the apple in order to fan out the slices. Sprinkle with lemon juice and set aside (to avoid from browning).
  4. When ready to roll, dust your counter with flour. Remove the dough from the fridge and let rest on the counter for 10-15 minutes to allow to warm slightly and become more workable.  Divide in half and roll into two rectangles, or just make it into one large base.
  5. Set the oven to 225 degrees celcius.  Spread the center of the pastry with a thin layer of raspberry preserve and arrange the apple.  Sprinkle with cinnamon. 
  6. Fold the edges over the pastry over the fruit, brush with cream and sprinkle with sugar.  Place the prepared tarts in the freezer (or fridge if you don't have the space) while you wait for the oven to continue heating (Like 10 minutes). 
  7. Bake for about 10 minutes, then reduce the heat to 175degrees celcius and bake until the pastry is golden.
  8. Remove from the oven and brush with additional jam while still hot.  Cool on a rack.
Click here to view Whisk Kid's version.

I found out that that the taste got better and better the longer you refrigerate it.

Till then, toodles!