Wednesday 25 April 2012

Trouble Topple

What happened last night:
I was holding the bag where a box of cupcakes was inside the bag.
Came back home after baking (I do not bake at home, the place where I bake is at a friend's), happy coz I managed to finish baking quite early, was almost 11 when I got myself inside the house, put the bag with cupcakes in it on the dining table, went to unlock my room, put my handbag down, went back out to put the cupcakes inside the fridge, AND......


YES. NO. NO. NO!!!!!
Half of the cupcakes toppled, with 1 or 2 went upside down.
Heart breaks, tears started to form.
I literally stand still with my mouth wide open for 15 seconds. My mind was spinning, thinking of ways to fix this. One of it, drive back to the baking place, and refrost the cupcakes, no early night for me.

Sigh, its a test from Him. I told my self. YOU CAN HANDLE THIS!
haha..drama drama..


Then slowly, calmly, I pick up the box, took out the cupcakes one by one, and then found out, only 3-4 need major fixing, the rest, it aint that bad. So, cancel the plan to go back and refrost the cakes. Fuhhhh.
In the end, managed to fix everything, and it all look 'okay' and cannn la...not so bad.

Moral of the story, be positive! dont freak out when things beyond your control happened, analyze and look at the damage first. If not, your blood will go upstairs, and it'll just ruin your day.
Be calm and fix the problem. Jangan menggelabah ok!

xoxo.


Friday 20 April 2012

Tips #1 Making Your Own Buttermilk

Using buttermilk in cakes can add richness and moistness and tenderness that gives the cake the extra yummy factor to it. Buttermilk is thick and has a tangy, buttery-velvety flavor sort of like a cross between melted butter and sour cream.


However, this product is not so easy to find in the usual supermarket (or the one stop centre kedai runcit uncle kat jalan belakang tu). Usually I will only see these in supermarkets where most expats lives i.e. where most imported things are sold e.g. Mont Kiara, Bangsar etc or at the baking supply store, and the price..not so friendly.

So, to make life easier, I've found a substitute from buying the ready-made buttermilk, which is more pocket friendly and easy to get.

You"ll need:
 

1 cup of milk (low fat or full cream or fresh & best to have it a room temperature)
1 tablespoon of distilled white vinegar 

Method:
Combine the milk and distilled white vinegar together and let it stand for at least 10 minutes.
Then you'll see this.
 
The milk curdled. If it does, then you are doing the right thing! Your buttermilk is ready.

But remember to use correct measurement ok!


If your recipe requires 2 cups of buttermilk, just double the measurement i.e.2 cups of milk + 2 tablespoon of distilled white vinegar.

Ok, lets educate ourselves on buttermilk - Fun Facts!
 Buttermilk is so named because it was originally the liquid left over after the butter churning process was complete.
(Butter Churning - process of making butter where cream are churned until the fats are seperated from the liquid. The liquid is the buttermilk!)

Plunger type of churn tool.
(picture taken from wiki)

Hope it helps! Have fun trying!


Thursday 5 April 2012

1st Bazaar with SOOQ @Rasta TTDI

We were at Rasta TTDI for SOOQ-
Yay Bazaar on Saturday 25th February 2012, our first bazaar in the historyofmankind. lol.
What happened at the bazaar:

Preparation-check.
(I was more excited with buying the flowers, printing pretty things than concentrating baking items to be sold. heehee)

Full setup.

Deco. Flowers, Cake-Magic by Kate Shirazi was given my Yong as birthday gift!, Puss in Boots, All DIY.

Red Velvet in a Jar

Choc Moist cuppies with Dark Choc Ganache

Top: Red Velvet with Cream Cheese and Oreo Crunch, Choc Moist with Dark Choc Ganache.
Bottom: Lemon Butter with Lemony Whip and Marshmellow Love.

Nabilah of SOOQ. Thanx doll!

Part of lovely supporters + awesome promoters + dearest dearest friends,
Thank you so much for coming although it was blazing hot that day. Love you guys to bits!


We managed to sell everything! HOORAY! Thank you SOOQ! Let us know when is the next bazaar ;)

Love,
CuppyCatCake


Tuesday 3 April 2012

Lemon Butter Cake with Lemony Whip

Every cake i made has a story behind it. Other than the usual hot selling red velvet, my experiments with new recipes always comes from a request or upon special occassion.

The Lemon Butter Cake was first made upon the other half's request for his raya open house cums housewarming session. Well, for that occassion alone, 5 cakes were made in 1 night! Hard work ya'll, and I aint kidding as I fall sick right after the event. lol.
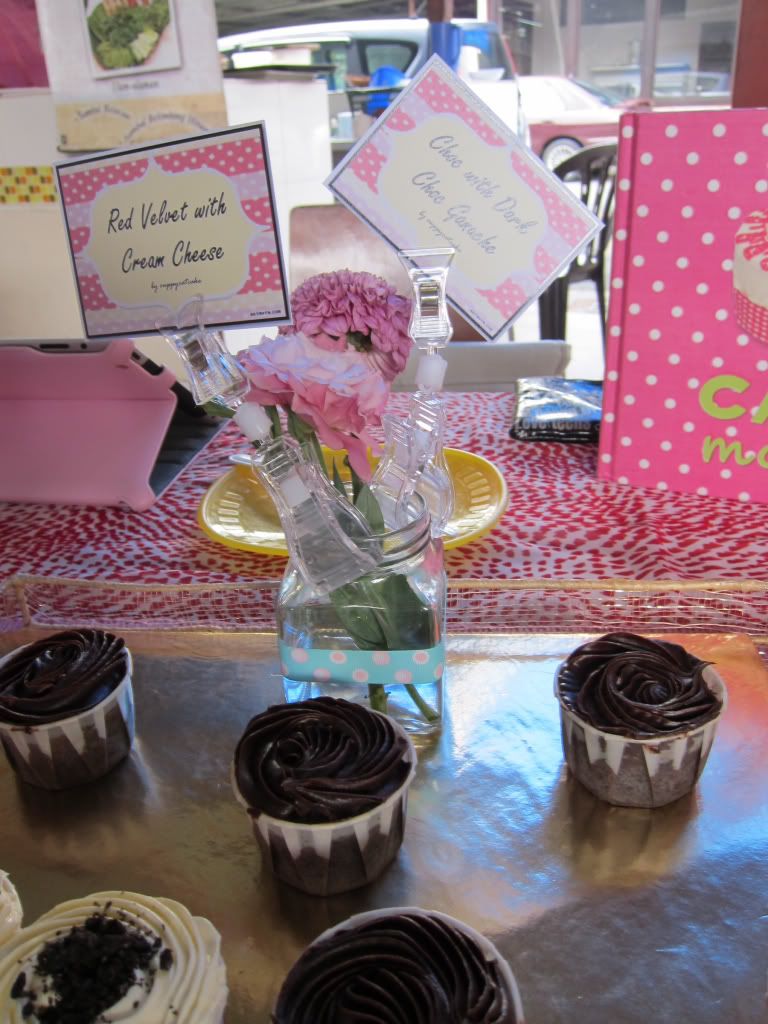
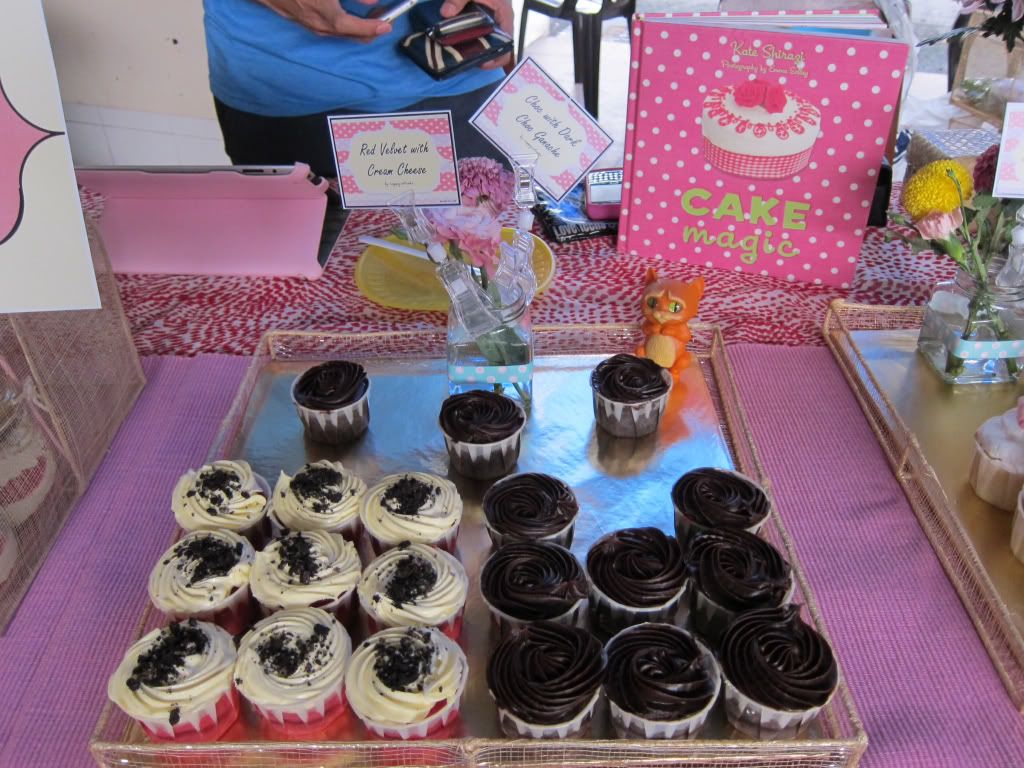
Featuring from top: brownies, red velvet, blueberry cheesecake, choc moist, and lemon butter!

The recipe came from Martha, and at first i made it with lemon curd filling and egg-whip.

It turned out good, but a lil bit sweet and some improvements will make it awesome.
  The egg whip, once whipped, u better use them immediately, otherwise it'll get watery and dry.

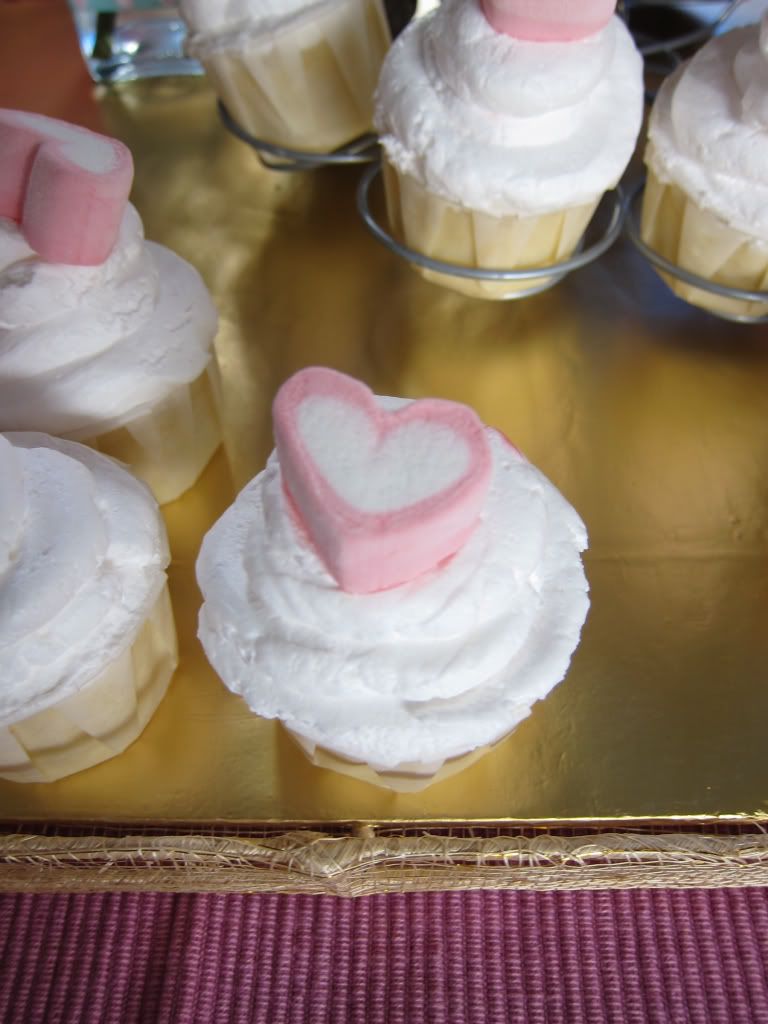
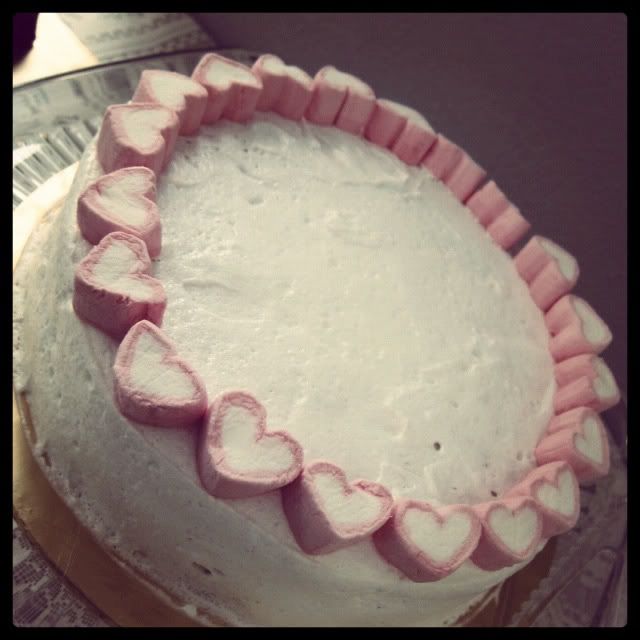
Then, I made this recipe for my mom, with dairy whip and shredded coconut. Oh yumss.


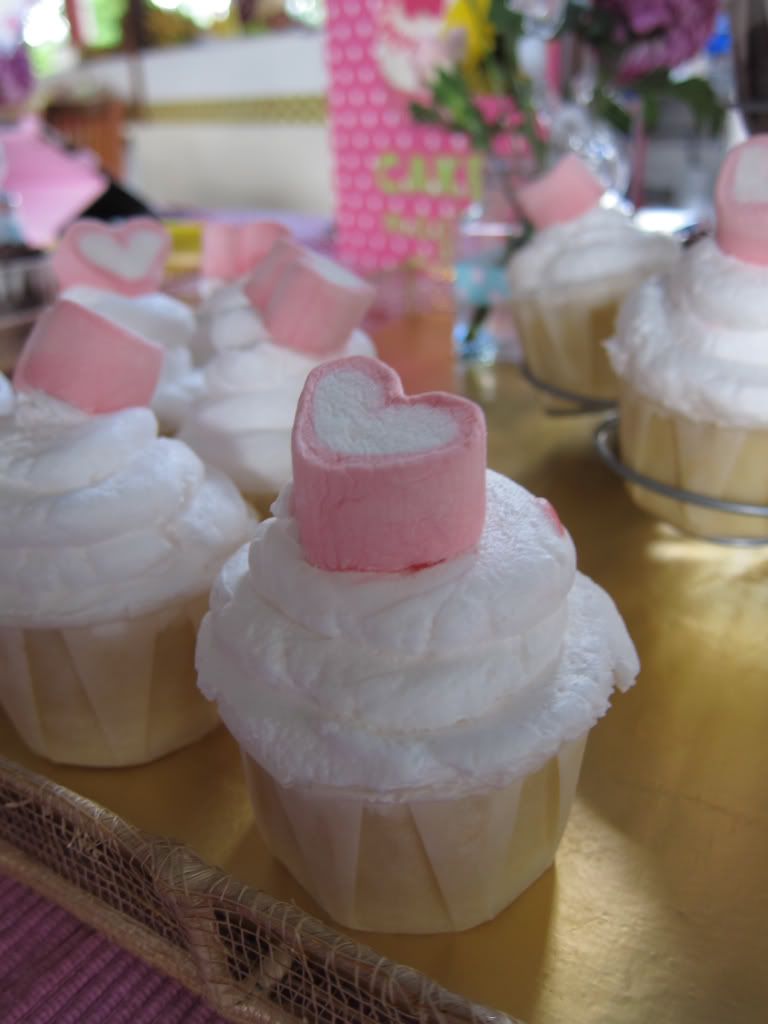
Made them into cuppies and birthday cake also!


Sweet innit? I like to call em' my PINK LEMONADE.


Anyway, after few experiments, here is the modified recipe:

1 cup unsalted butter, room temperature
2 1/2 cups all-purpose flour
1/2 teaspoon baking powder
1/2 teaspoon baking soda
1 teaspoon salt
1 tablespoon lemon zest
1 1/4 cups sugar
2 large eggs plus 3 large egg yolks
2 tablespoons fresh squeezed lemon juice
*optional: 1 tablespoon lemon cordial (or according to your liking)
(Note: the lemon cordial part is an addition made by me, as I feel like it has a lil more lemony kick compared to the fresh squeezed juice that gives subtle lemon taste to the cake. But its up to u though! oh you can also subsititute with orange cordial to give that citrusy feeling, Go creative!)
1 cup low-fat buttermilk
1 lemon, thinly sliced and seeded

  1. Preheat oven to 175 degrees Celcius. Butter two 8 inch cake pans (u can do it with a 9 inch cake pans too but the height will reduce), put it in parchment papers, flour it and tapp out excess flour.
  2. In a medium bowl, whisk flour, baking powder, baking soda, salt, and lemon zest.
  3. In a large bowl, using an electric mixer, beat butter and sugar until light and fluffy. Dont forget to scrape the side off for even mixing! 
  4. With mixer on low, beat in eggs and yolks, one at a time.
  5. Beat in lemon juice, then lemon cordial.
  6. Then, alternately beat in flour mixture and buttermilk beginning and ending with flour mixture; mix just until combined.
  7. Divide batter between pans; smooth tops. Bake until cakes pull away from sides of pans, around 35-40 minutes. Let cake cool and invert cakes onto a wire rack.
DONE!

Martha's recipe called for lemon syrup to be brushed on the layers, but I think its too sweet and the cake with the whip is awesome enough.

For the topping:

2 or 3 cups of dairy whipped cream
Few teaspoon of lemon juice or lemon cordial
  1. Just whip the cream until soft peaks form, then add the lemon juice/cordial to taste. Continue whipping until stiff peaks form. DONE!
Its entirely up to you how you want the cake to be frosted. Be it 3 layers, 4 layers or just 2 layers or scoop them into those lil cuppies. Have fun!

View Martha's Lemon Cake recipe here

Monday 2 April 2012

Strawberry Summer Cake

Before I begin, i want to aplogize because iknowihavebeenprocrastinatingandnotupdatethisblogaspromised.
DEEPLY SORRY.

Heehee, ok here's the story behind the ever lovely Strawberry Summer Cake.
An ex-colleague came across the recipe online, the blog has been popular, with awesome recipes from savoury to sweets, its called Smitten Kitchen.


Originally, the recipe comes from the ever lovely Martha, however, smitten kitchen has adapted the recipe having few optional variation and a lil less sugar in it (Martha's cakes can be a lil bit sweet sometimes).


This sweet lil thing is so easy to make, it will take like less than 30mins to prepare and around 45 mins in the oven. 


The recipe:

6 tablespoons unsalted butter, at room temperature, plus extra for pie plate
1 1/2 cups all-purpose flour
1 1/2 teaspoons baking powder
1/2 teaspoon table salt
1 cup plus 2 tablespoons granulated sugar
1 large egg
1/2 cup milk
1 teaspoon vanilla extract
450 grams strawberries, hulled and halved

How to do it:
  1. Preheat oven to 175°C. Butter a 9-inch pie pan (what I used). (Note: Smitten Kitchen told that this doesnt work in a 9 inch pie pan as it will overflow. I was stubborn, and still used it. It turned out well, an did not overflow at all. just purrrfect. However, if you are not stubborn enough like me, please use a 9 inch deep pie pan/normal cake pan or springform pan). You may also try with a 10inch pan, but it will come out a bit flatter than the picture. 
  2. Whisk flour, baking powder and salt together in a small bowl.
  3. In a larger bowl, beat butter and 1 cup sugar until pale and fluffy with an electric mixer, about 3 minutes. Mix in egg, milk and vanilla until just combined. Add dry mixture gradually, mixing until just smooth.
  4. Pour into prepared pie plate. Arrange strawberries, cut side down, on top of batter, as closely as possible in a single layer. You may overlap them to have more of that yummy strawberries in the cake! Sprinkle remaining 2 tablespoons sugar over berries.
  5. Bake cake for 10 minutes then reduce oven temperature to 160°C and bake cake until golden brown and a tester comes out free of wet batter, about 45 minutes to 60 minutes. 
  6. Let cool in pan on a rack. DONE!
  7. You can serve this with some dairy whipped cream on the side, and of so yummeehhhh..


Have fun trying it out!

p/s: CuppyCatCake is selling this beauty in a 9inch pie pan with a tub of whipped cream!